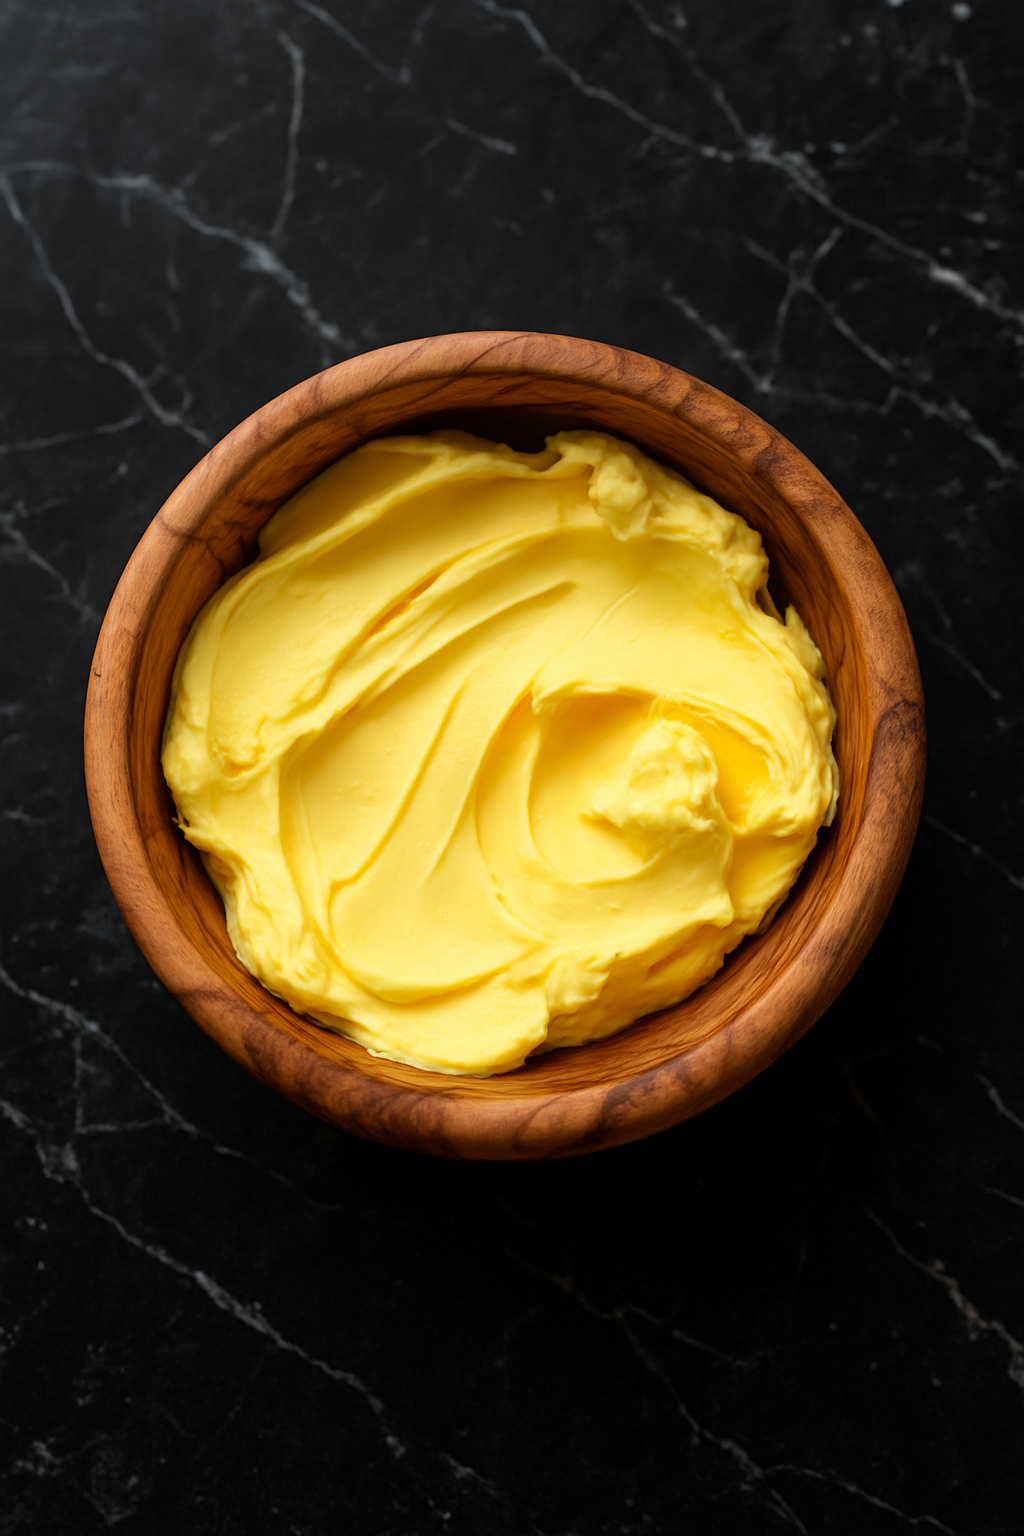
You know what’s kind of magical? Turning one simple ingredient into something that tastes better than anything you can buy in a store. That’s homemade butter. It’s rich, creamy, and comes with a bonus side of buttermilk for pancakes or biscuits. Whether you’ve got a stand mixer, a food processor, or just a mason jar and some determination, this recipe walks you through all three methods so you can make it happen no matter what you’ve got in your kitchen. Regardless of if you’re doing this for the flavor, the fun, or because you accidentally bought a gallon of cream at Costco — this recipe has you covered.
Homemade Butter
Prep time: 10-20 minutes
Servings: ¾ cup butter (about 12 tablespoons)
INGREDIENTS
- 2 cups heavy cream (ideally organic, and not ultra-pasteurized)
- Optional:
- ¼ teaspoon salt (for salted butter)
- Ice water (for rinsing)
DIRECTIONS
Method 1: Stand Mixer
- Pour cream into the bowl fitted with the whisk attachment.
- Start on medium speed, then gradually increase to high.
- First, it’ll turn into whipped cream. Keep going — it’ll become grainy, then separate into butter solids and buttermilk.
- When the butter clumps and splashes in the bowl, stop the mixer.
Method 2: Food Processor
- Pour cream into the bowl of your food processor. Secure the lid.
- Process on high for 5–8 minutes.
- The cream will go through stages: whipped → grainy → separated. Once the butter forms and separates from the buttermilk, stop.
Method 3: Mason Jar (Shake Method)
- Pour cream into a mason jar, filling it no more than halfway. Seal tightly.
- Shake vigorously for 10–15 minutes. You’ll feel it thicken, then hear liquid sloshing as the butter separates.
- Once a solid lump forms, you’re done.
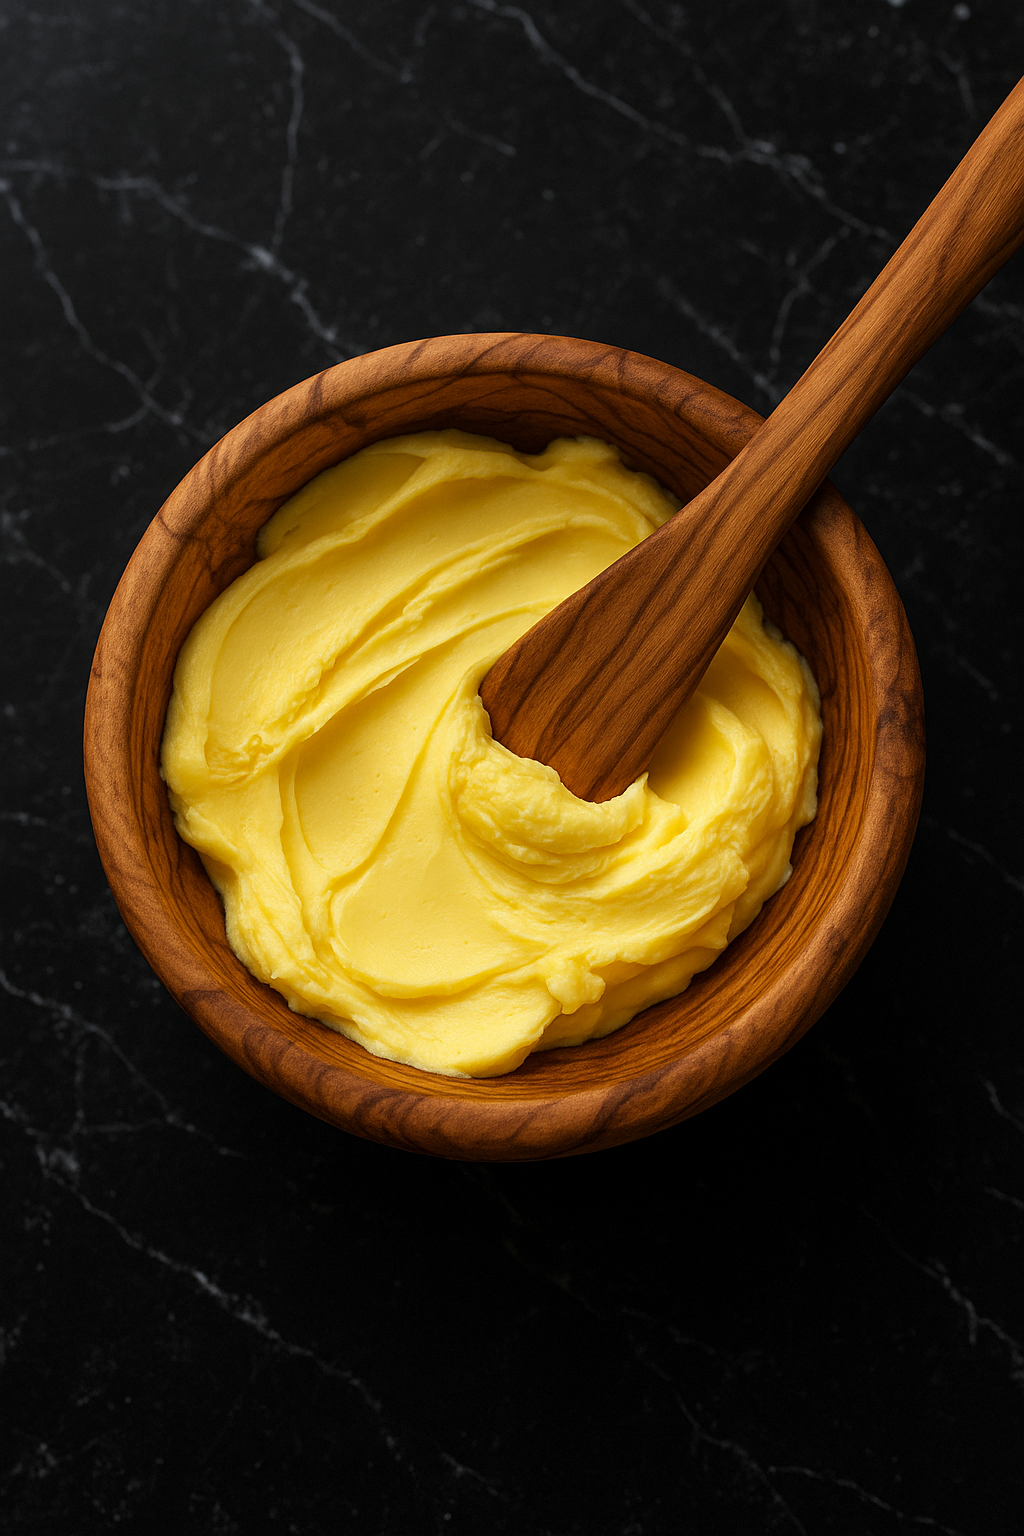
Finish the Butter (for all methods)
- Drain off the buttermilk and save it for baking.
- Scoop the butter into a bowl.
- Rinse: Pour ice cold water over the butter and knead it with a spatula or clean hands to remove remaining buttermilk.
- Repeat with fresh water until it runs clear.
- Optional: knead in ¼ teaspoon salt for flavor.
- Shape, wrap, and store in the fridge for up to 1 week (or freeze for longer).
Optional Add-Ins:
- Herbed Butter: Add minced parsley, thyme, or chives
- Honey Butter: Add 1–2 teaspoon honey
- Garlic Butter: Add roasted or minced garlic
NOTES
- In a stand mixer, I find it takes exactly 7 minutes until the butter solids and buttermilk are properly seperated. I work my way from medium to high speed over the course of two minutes and stay at high for the remaining 5 minutes, paysing once or twice to scrape down the sides with a spatula.
- For flavored butter, mix in herbs, garlic, honey, or citrus zest once the butter is fully rinsed.
- You can scale this recipe up or down depending on your cream quantity.
- Don’t toss that buttermilk, save it! It’s great for pancakes or biscuits.
- Butter storage: For short-term use, store it in a covered butter dish or a butter crock at room temperature for a few days, or in the refrigerator for a week or two. For longer storage, wrap it tightly and freeze it, where it can last for several months.
- Buttermilk storage: when stored properly in an airtight container in the refrigerator, it can last for up to two weeks. However, it’s always best to use it as soon as possible for optimal flavor and texture.

Leave a Reply